Four separate rings
Two small polar rings and two larger middle rings. Sliding a ring changes bead positions, but cannot change its colors.
A small puzzle. A change of perspective.
The beads don’t jump tracks.
The tracks change underneath them.
A hands-on guide to the Orb / Orb-It family of puzzles. Turn a half, follow a loop, and see why a few deliberate moves can put the colors back together.
Get your bearings
Hold the seam vertically, with a small ring at the top and bottom. Sliding moves every bead on a connected loop. Twisting a hemisphere changes which half-tracks connect across the seam.
Two small polar rings and two larger middle rings. Sliding a ring changes bead positions, but cannot change its colors.
Each loop visits all four ring levels. A one-bead slide can carry beads between the poles and the middle.
The two polar half-tracks trade partners, as do the two middle half-tracks. Now a slide can exchange beads between matching sizes.
First, solve the bigger problem
Choose two colors for the small rings and two for the middle. In this model, yellow + green belong at the poles; purple + red belong in the middle. At this stage, which pole or which middle ring doesn’t matter.
Bring one wrong-family bead to each of the four crossing points: top/front/left, upper-middle/front/right, lower-middle/back/right, and bottom/back/left. A quarter turn connects these positions into one loop. Slide one bead across each join, then untwist.
Use a 180° exchange (the next two lessons) to redistribute them between the two poles or the two middle rings. Then set up another four-ring exchange. If only two wrong-family beads remain, correct one using a quarter-turn exchange; this temporarily creates a four-bead case you can fix. This stage may get worse briefly before it improves. Adjacent groups can also be transferred together when all four crossing positions are prepared.
Then, separate a pair
Once both small-ring colors are at the poles, choose yellow for the top and green for the bottom. Set a misplaced bead in each polar ring immediately beside the front seam, on opposite halves. Twist the right half 180°, slide the joined polar ring one bead, and untwist.
Same idea, larger rings
Choose purple for the upper middle ring and red for the lower one. Prepare a misplaced pair on opposite sides of the front seam. Use the same half turn, one-bead slide, and return—this time on the joined middle ring.
From the real thing
These are the supplied photos of the toy, viewed at different orientations and twist settings. The black shell and sliding bead channels match the Orb-style mechanism. The model uses the documented 56-bead layout (8 / 20 / 20 / 8); the photos alone don’t establish the exact brand or hidden bead counts.
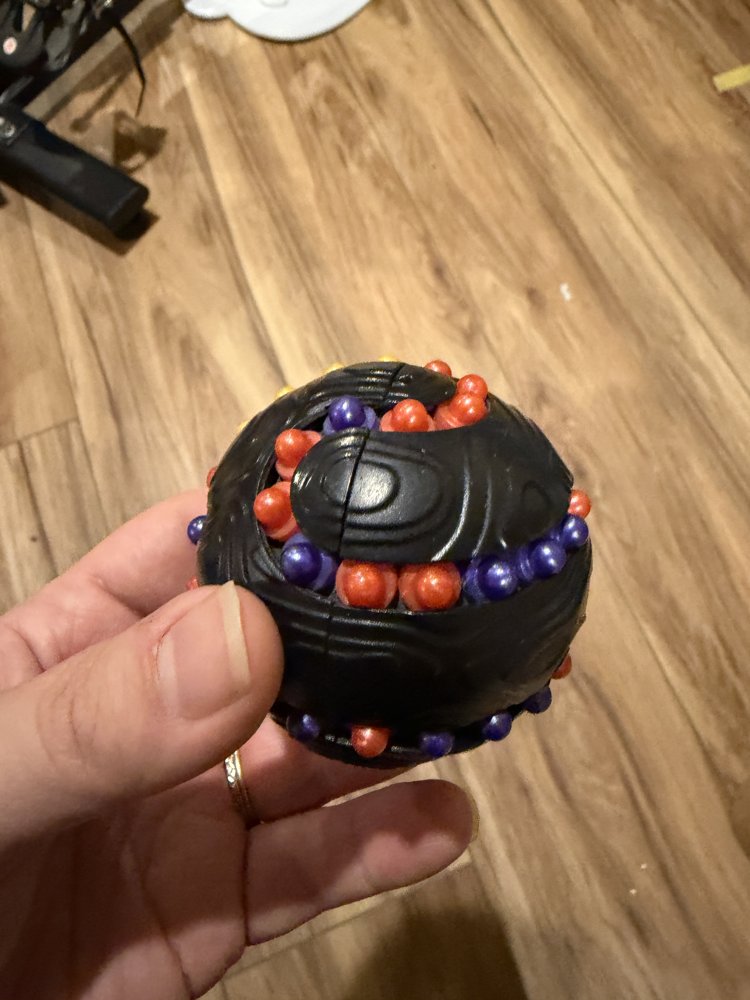
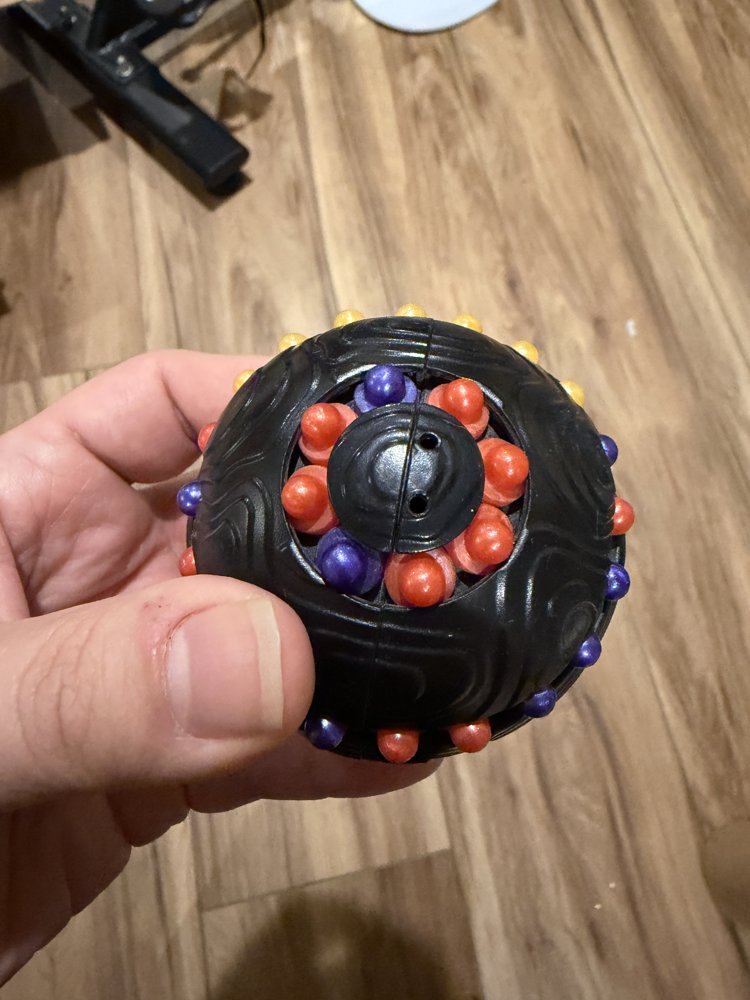
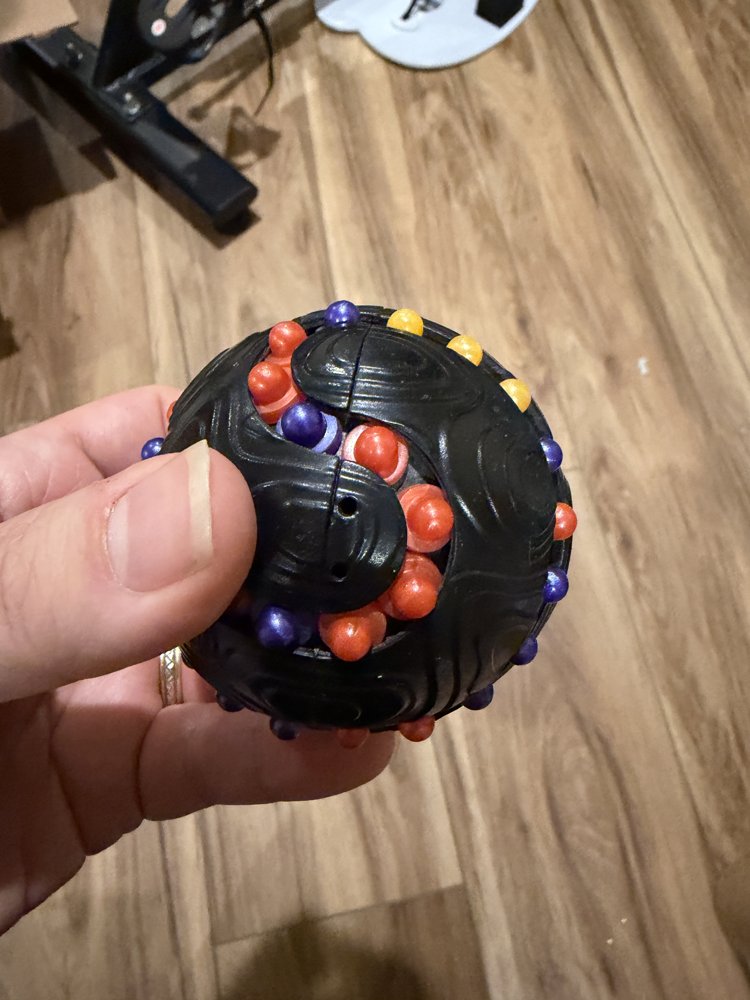
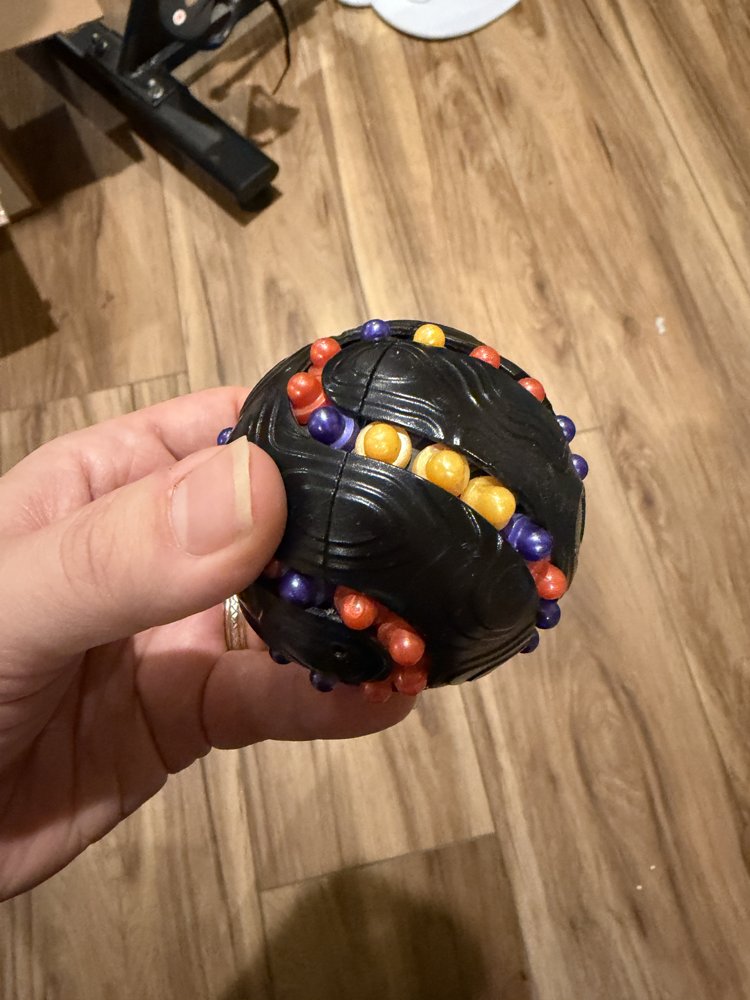
The 3D view is an explanatory reconstruction, not a scan of the toy or a transcription of its photographed scramble. The two halves are marked L and R in the bead map. Positive twists rotate the right half about the seam axis; “slide +” follows the highlighted loop’s internal order. Use the highlighted beads to follow the direction rather than assuming clockwise from every camera angle. The map shows all beads, including those behind the ball.
The lesson examples are deliberately prepared cases, not an automatic solver for an arbitrary photographed position. Each reset restores its own example. Colors are labeled Y (yellow), P (purple), R (red), G (green), and a marked bead helps you track motion.
Mechanism and solution references: Jaap Scherphuis: The Orb (Orb-It) and Jim Storer’s Orb collection page. Inspired by the interactive, explain-the-moves format of The Why Cube. Explanations here are original paraphrases.